Installing a garden pool takes eight steps: from checking planning permission to filling the water and balancing chemistry. Total costs range from €500 for a small above-ground pool to over €50,000 for a custom concrete in-ground pool. Always start with step 1 — the permit check.
Step 1: Check planning permission
Not every backyard pool is permit-free. Rules fall under national building regulations and the local zoning plan.
The general rules in the Netherlands:
- Pools up to 20 m2 and a maximum of 50 cm deep are typically permit-exempt as ancillary structures.
- Larger or deeper pools, or pools in protected street scenes, require an environmental permit (omgevingsvergunning).
- Some municipalities require a minimum distance of 2 metres from the boundary for an in-ground pool.
Check via the Omgevingsloket Online (OLO) portal or call your municipality’s Building and Planning department. This takes 15 minutes and can prevent a costly mandatory removal later.
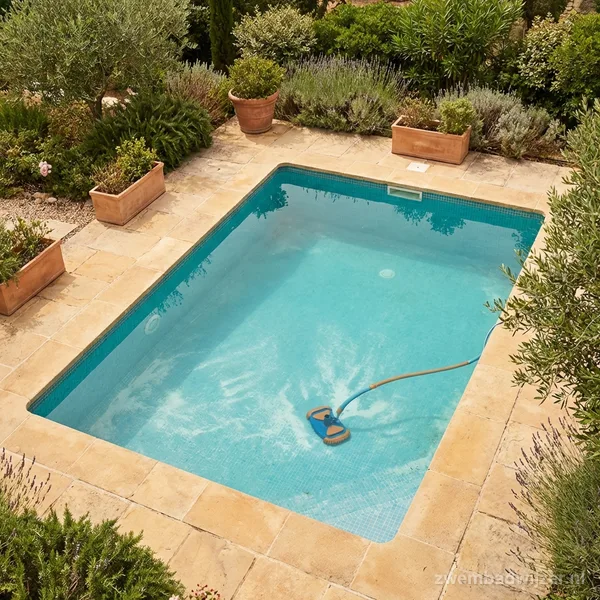
Step 2: Choose the location in your garden
The ideal pool location combines maximum sun exposure with minimal impact from trees and neighbours.
Sun: Choose a spot that gets direct sun from 10:00 to 16:00. A south-facing position warms the water faster and reduces heating costs. Trees to the north give shade and drop leaves and pollen into the water.
Clear of trees: Keep the pool edge at least 5 metres from large trees. Roots damage liners and pool structures. Falling leaves overload the filtration.
Services and utilities: Before digging, check where water mains, drains, gas pipes and electrical cables run. Request a KLIC (utility clash check) via klic.kadaster.nl. Digging without the check is illegal and dangerous in the Netherlands.
Distance from the house: Keep at least 1.5 metres from the building foundation. Also consider the walking line from the house to the pool for safety and comfort.
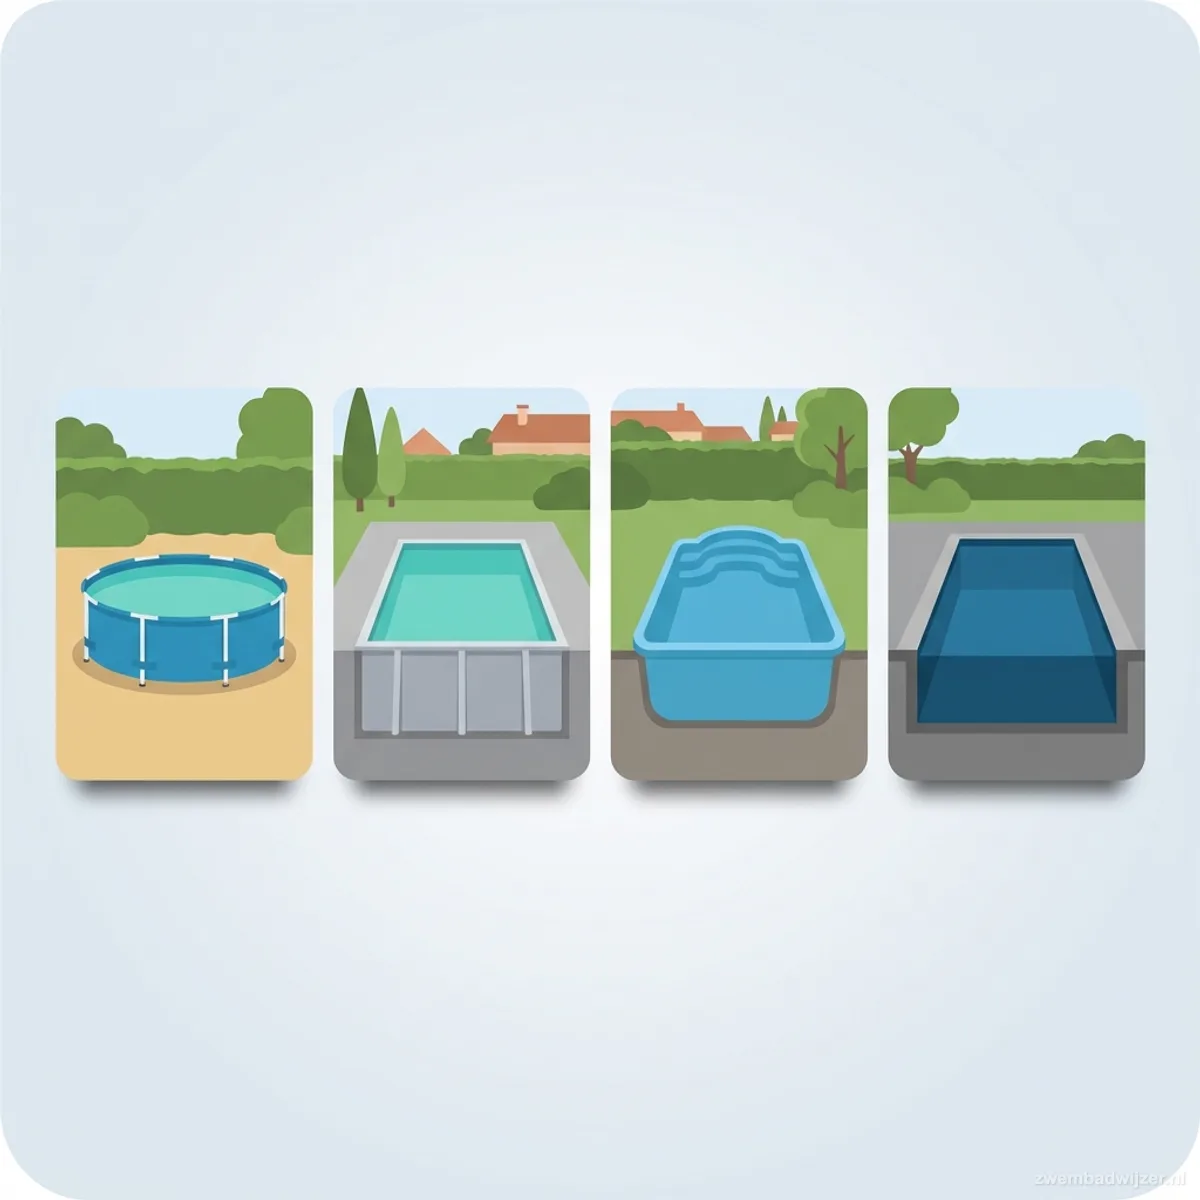
Step 3: Choose the pool type
The pool type determines the construction method, costs and maintenance load. See the full comparison in the article about buying a pool .
| Type | Method | Cost | Lifespan | Best for |
|---|---|---|---|---|
| Above-ground | Self-install | €200 to €1,500 | 3 to 10 years | Small gardens, temporary |
| Semi-inground | Partial dig, frame | €2,000 to €8,000 | 10 to 20 years | Mid-size gardens |
| Fibreglass in-ground | Dig, drop shell | €8,000 to €20,000 | 25 to 40 years | Permanent installation |
| Concrete custom | Dig, form, pour | €20,000 to €60,000+ | 40 to 60 years | Luxury, free-form |
| Steel wall + liner | Dig, assemble walls | €3,000 to €10,000 | 15 to 25 years | Rectangular shapes |
Step 4: Excavation
Excavation is the heaviest and most expensive phase for an in-ground pool. A hole for an 8 x 4 metre pool at 1.5 metres deep contains 48 m3 of spoil that must be removed.
Digging: Hire a mini excavator (around €250 per day) or engage a groundwork contractor. Budget €15 to €25 per m3 of removed spoil including transport. Total excavation cost for a typical in-ground pool: €1,500 to €3,500.
Drainage: Some soils retain groundwater. A high water table risks floating an empty fibreglass shell. Install drainage pipes around the shell or commission a groundwater survey before starting.
Levelling: The base of the excavation must be level to ±2 cm. An uneven base causes structural problems in fibreglass and steel-wall pools.
Sand bed: Lay a 10 cm sand bed beneath a fibreglass shell to distribute load evenly and protect the underside from stones.
Step 5: Install the structure
Construction method varies by pool type:
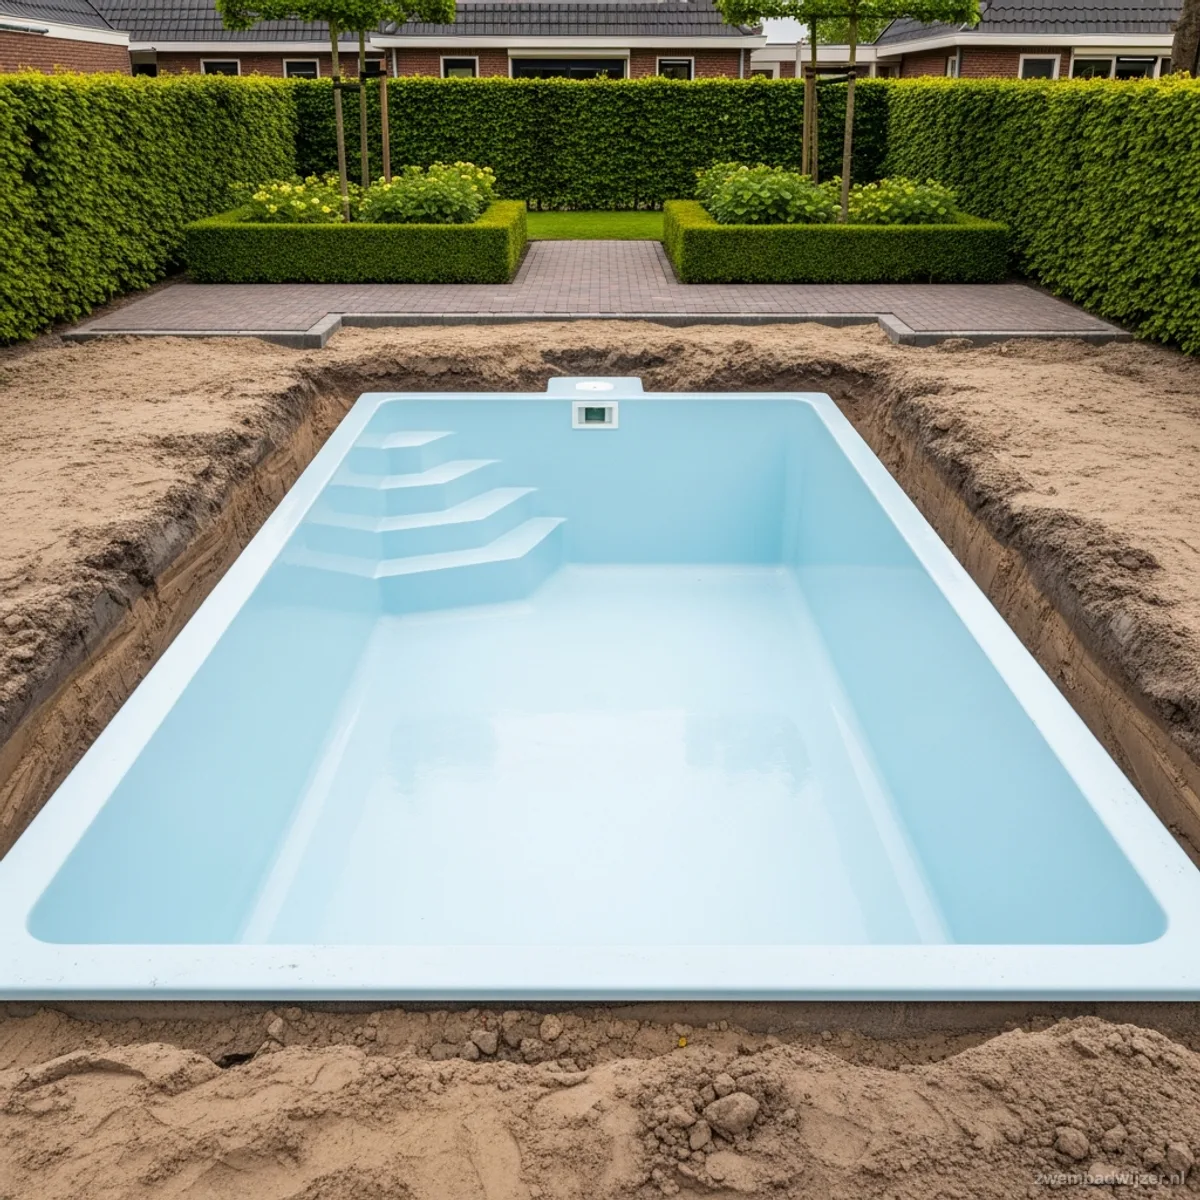
Fibreglass pool: A factory-made shell arrives by truck or crane and is lowered into the hole. Ensure adequate access for the delivery vehicle. After positioning, the gap between shell and excavation wall is filled with sand or lean-mix concrete.
Steel wall pool: Panels are assembled one by one inside the excavation. A PVC liner is fitted afterwards. DIY-friendly but requires precise levelling of the base plates.
Concrete pool: Install formwork, lay reinforcement steel, pour concrete and allow at least 28 days to cure. Apply waterproof render or liner. Requires a professional contractor.
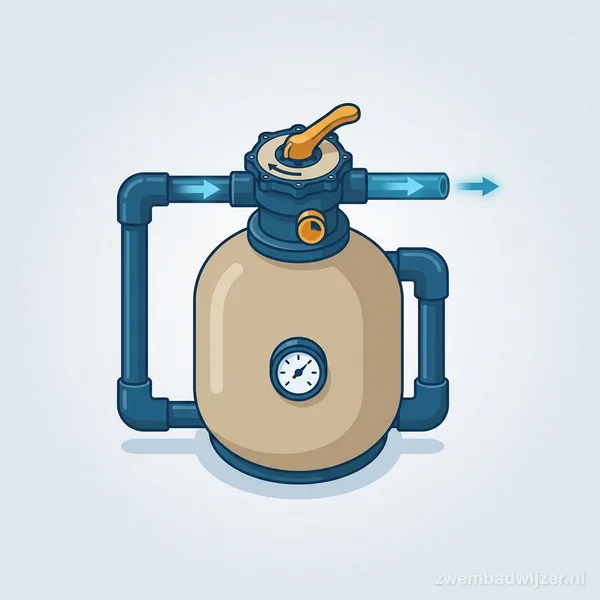
Step 6: Technical installation
The equipment room (pump, filter, optional heater) needs a permanent location as close to the pool as possible. Read more about pipe sizing and layout in the article on pool plumbing .
Pipework: Use PVC pipes of at least 50 mm for main runs in pools larger than 30 m3. Lay pipes with a minimum 1% fall so they drain completely when winterising.
Electrical installation: All electrical components in and around the pool fall under NEN 1010 (wet-room rules). Required separation zones apply for outlets and lights. Always use a licensed electrician.
Pump and filter: Size the pump to turn over the full water volume in 4 hours. A 50 m3 pool needs at least 12.5 m3/h.
Heating (optional): A heat pump is more economical than a gas heater or electric element. An 8 kW heat pump needs around 24 hours to raise a 40 m3 pool by 5°C. See the full comparison in the article on pool heating methods .
Step 7: Finishing around the pool
Tiles and terrace: Lay anti-slip tiles (class R10 or R11) around the pool. Set a slight slope away from the pool (1 to 2%) for rainwater drainage.
Fencing: A locked fence around the pool is not legally required for private pools in the Netherlands, but is strongly recommended for families with young children. Many home insurers require it.
Lighting: LED underwater lights increase safety and atmosphere. Install them at the same time as the rest of the electrical work.
Pool enclosure (optional): An enclosure extends the swimming season by 4 to 8 weeks and reduces maintenance costs significantly.
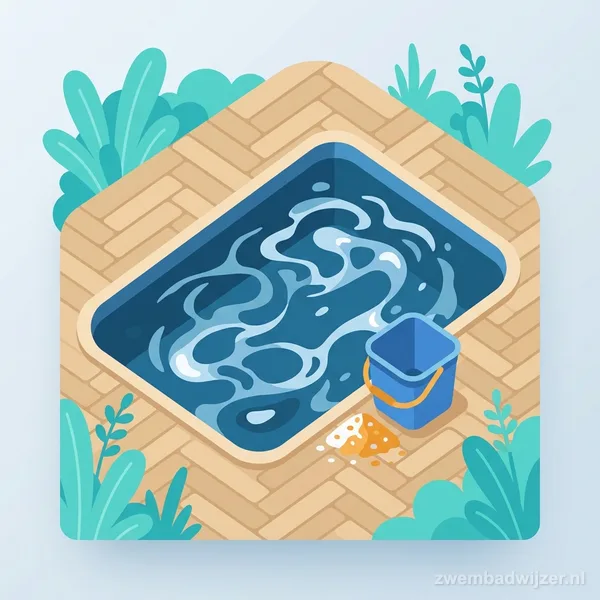
Step 8: Filling and water chemistry
Filling a 40 m3 pool from the tap takes 5 to 8 hours. At Dutch water rates, 40 m3 of tap water costs around €80 to €140.
After filling:
- Measure the pH: tap water in the Netherlands is typically 7.5 to 8.5.
- Adjust pH to 7.2 to 7.6 using pH reducer or pH increaser.
- Check total alkalinity: target 80 to 120 mg/l.
- Add start-up chlorine: aim for 2 to 3 mg/l free chlorine.
- Retest after 24 hours and adjust where needed.
Where to install a pool in your garden
The ideal location gets at least 6 hours of direct sun daily, has good vehicle access for machinery and is clear of large trees, boundaries and foundations. In a small garden the spot is often dictated by available space. Draw a scaled sketch of your garden including paving, trees and utilities before making a final decision.
What does it cost to install a pool?
Total installation costs are the sum of excavation, structure, technical installation and finishing. A realistic breakdown:
| Pool type | Excavation | Structure | Technical | Finishing | Total |
|---|---|---|---|---|---|
| Above-ground | None | €300 to €1,200 | €150 to €400 | None | €450 to €1,600 |
| Semi-inground steel wall | €500 to €1,500 | €1,500 to €4,000 | €500 to €1,500 | €500 to €1,500 | €3,000 to €8,500 |
| Fibreglass in-ground | €1,500 to €3,500 | €5,000 to €12,000 | €1,500 to €3,000 | €1,500 to €4,000 | €9,500 to €22,500 |
| Concrete custom | €2,000 to €5,000 | €12,000 to €30,000 | €2,000 to €5,000 | €3,000 to €10,000 | €19,000 to €50,000+ |
Installing a pool with a liner
A liner pool is the most affordable in-ground option. The structure uses steel panels or concrete blocks as the shell and a PVC liner as the waterproof membrane.
Advantages over fibreglass:
- Lower installation cost (20 to 40% cheaper)
- More flexible shapes including L-shapes and curved designs
- Liner can be replaced after 10 to 15 years without touching the structure
Downside: a liner is more vulnerable to mechanical damage than fibreglass or concrete.
Frequently asked questions
Do I need planning permission to install a pool in my garden?
Pools up to 20 m2 and 50 cm deep are usually permit-exempt. Larger or deeper pools require an environmental permit. Always check with your municipality before digging.
What does an in-ground pool cost to install?
A fibreglass in-ground pool costs €12,000 to €25,000 including excavation and finishing. A custom concrete pool starts at €25,000 and can exceed €60,000. Add €600 to €1,500 per year in running costs.
How long does it take to install a pool?
An above-ground pool takes a day. Semi-inground: 2 to 5 days. Fibreglass in-ground: 1 to 3 weeks. Concrete custom: 4 to 12 weeks including curing time.
How far from the boundary does a pool need to be?
1 metre is the general guideline, but it varies by municipality. Some require 2 metres or more. Always check before excavating.
Can I install a pool myself?
Above-ground and semi-inground pools can be DIY. Always use licensed installers for electrical work and plumbing. In-ground concrete pools always require professional construction.