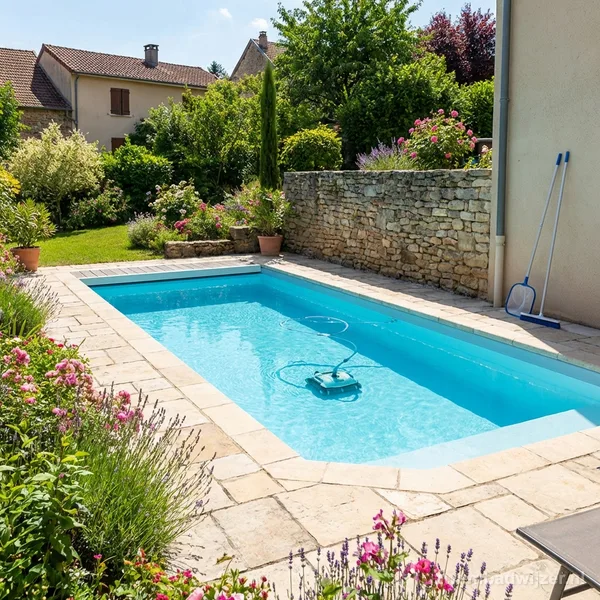
Winterize your pool before the first overnight frost, ideally in September or October. A proper close-down takes 2 to 3 hours and prevents expensive frost damage to the installation and a green, algae-filled pool when you open up in spring.
Why does winterizing matter?
Three risks need to be avoided:
- Frost damage to the pump, filter, pipes and skimmer when residual water freezes and expands
- Algae growth over winter that leaves you with a green mess to deal with in spring
- Deteriorating water chemistry through unstable conditions over several months
Investing 2 to 3 hours of work in autumn saves at least 10 hours of remediation work in spring.
Step 1: Final thorough clean
Brush all walls from top to bottom. Vacuum the floor completely. The less dirt and organic material that goes into winter, the less algae risk you face in spring.
After cleaning, run the pump and filter for another 2 to 3 hours for a final filtration cycle.
Remove all pool accessories: thermometers, floating dispensers, ladders (if removable), toys. Store them dry and out of direct sunlight.
Step 2: Winter shock treatment
Shock the pool to 10 mg/l free chlorine to destroy bacteria and algae spores that would otherwise survive the winter.
Also add:
- Winter algicide (specifically formulated for low temperatures, works differently from summer algicide)
- Adjust pH to 7.2 to 7.4 before shocking
Tip
Carry out the winter shock in the evening. Wait 12 to 24 hours before proceeding to the next step so the chlorine can work effectively throughout the water.
Step 3: Lower the water level
Lower the water 20 to 30 cm below the bottom edge of the skimmer opening. This prevents ice from forming inside the skimmer and cracking the housing.
Use a submersible pump or set the multiport valve to DRAIN (waste).
Warning
Do not lower the water more than 50 cm. Too little water in the pool gives ice additional room to press against the walls, which can cause structural cracking.
Step 4: Drain the pipes and installation
This is the most critical frost protection step.
Pump: drain completely via the drain plug at the bottom. Store the pump in a frost-free location if possible.
Filter: drain via the drain plug at the base of the filter vessel. Remove the multiport valve and store it dry indoors.
Blow out the pipes: use compressed air to clear all pipework (suction and return lines). Start at the pump and blow toward the pool. Even a small amount of residual water can freeze and crack a pipe.
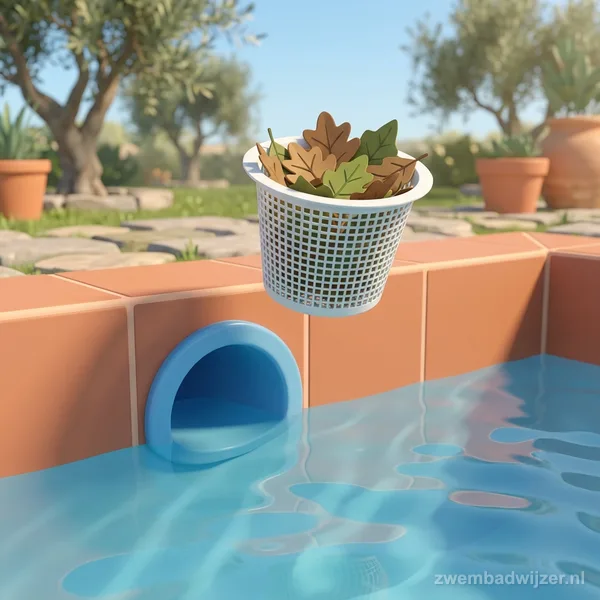
Skimmer: fit a winter skimmer plug or a foam skimmer protector to protect the skimmer body from ice pressure. Some owners place a sand-filled plastic bottle inside the skimmer as a compressible buffer.
Step 5: Fit the winter cover
A good winter cover:
- Is made from UV-resistant polyethylene or laminated material
- Fits tightly without sagging into the water
- Is secured with a cable or bungee system with adequate tension
Place a water ballast bag or inflatable pillow on top of the cover. The weight keeps the cover taut and ensures rainwater and snowmelt drain off the sides rather than pooling on top.
Check the cover every 2 to 4 weeks during winter: is there still adequate tension? Are there any tears or gaps? Has the ballast bag deflated or emptied?
Recommended products for winterizing
A proper close-down needs two essentials: a cover to keep debris out all winter and the right chemicals to keep the water stable.
Intex Winter Pool Cover for Above-Ground Pools
IntexDurable winter cover that protects the pool from debris, UV damage and algae growth during the off-season. Includes a securing cable for a tight fit.
- Keeps leaves and debris out all winter
- UV-resistant material
- Securing cable included
- Extends liner lifespan
- Rainwater pools on top, use a cover pump to remove it
- Check size carefully before ordering
Want to protect the water chemistry completely through the off-season?
Bayrol Winter Kit for Pools (4-piece set)
BayrolComplete winterizing chemical set for closing the pool at the end of the season. Includes winter algicide, chlorine stop, pH corrector and a slow-release winter floater.
- Everything for the full close-down process in one box
- Prevents algae and scale over winter
- Compatible with all filter types
- Dosing instructions for different pool volumes
- More expensive than buying products separately
- Some components are undersized for very large pools
Skimmer protection in detail
The skimmer is the most vulnerable component during freezing conditions. It is typically made from ABS plastic and sits at the waterline where any ice forms first. Ice expands by roughly 9% in volume: in a skimmer housing with nowhere to expand, this generates enough pressure to crack the body in half.
Two approaches work:
- Skimmer plug: a rubber or plastic plug that closes off the skimmer throat and prevents water from sitting in the housing
- Compressible buffer: a plastic bottle filled with sand, placed inside the skimmer body. When ice forms it compresses the bottle rather than cracking the housing
Both methods are inexpensive (EUR 3 to EUR 10) and take 5 minutes to fit. The cost of replacing a cracked skimmer housing is EUR 50 to EUR 150 plus labour. The maths strongly favours protection.
What happens if you skip winterizing
Frozen pump: water left in the pump casing freezes, expands and cracks the housing. A replacement pump body costs EUR 30 to EUR 80, a complete pump EUR 80 to EUR 250. This is the most common avoidable winter damage.
Frozen pipes: PVC pipe cracks silently. You may not discover the damage until you open the pool in spring and the system runs but water goes everywhere except back into the pool. Tracing and repairing a cracked pipe buried under decking is an expensive job.
Green pool in spring: a pool closed without shock treatment and algicide will have green water by April regardless of temperature. The combination of reduced chlorine, darkness and slow bacterial activity creates the conditions algae spores need to survive. Opening a green pool adds 2 to 3 days of remediation work before the first swim of the season.
Scale and cloudy water: if the water chemistry is out of balance going into winter (high calcium, high pH), calcite scale can form on the walls and fittings over the off-season. It is much harder to remove in spring than to prevent in autumn.
Winter monitoring
The pool needs no active maintenance in winter, but check monthly:
- Is the cover still under tension? Has any water seeped through?
- Have any large branches or stones landed on the cover?
- Are all drain plugs still closed?
During an early thaw in December or January: check that the cover is still correctly positioned after any ice pressure events.
For the reverse process in spring, see our pool opening guide for the full spring start-up checklist.